Purdue-Themed Desk Organizer - ME 264
August 2025 - December 2025
Goal: To build a desk organizer incorporating Purdue-themed elements as the final project for ME 264 (Intro to Manufacturing).
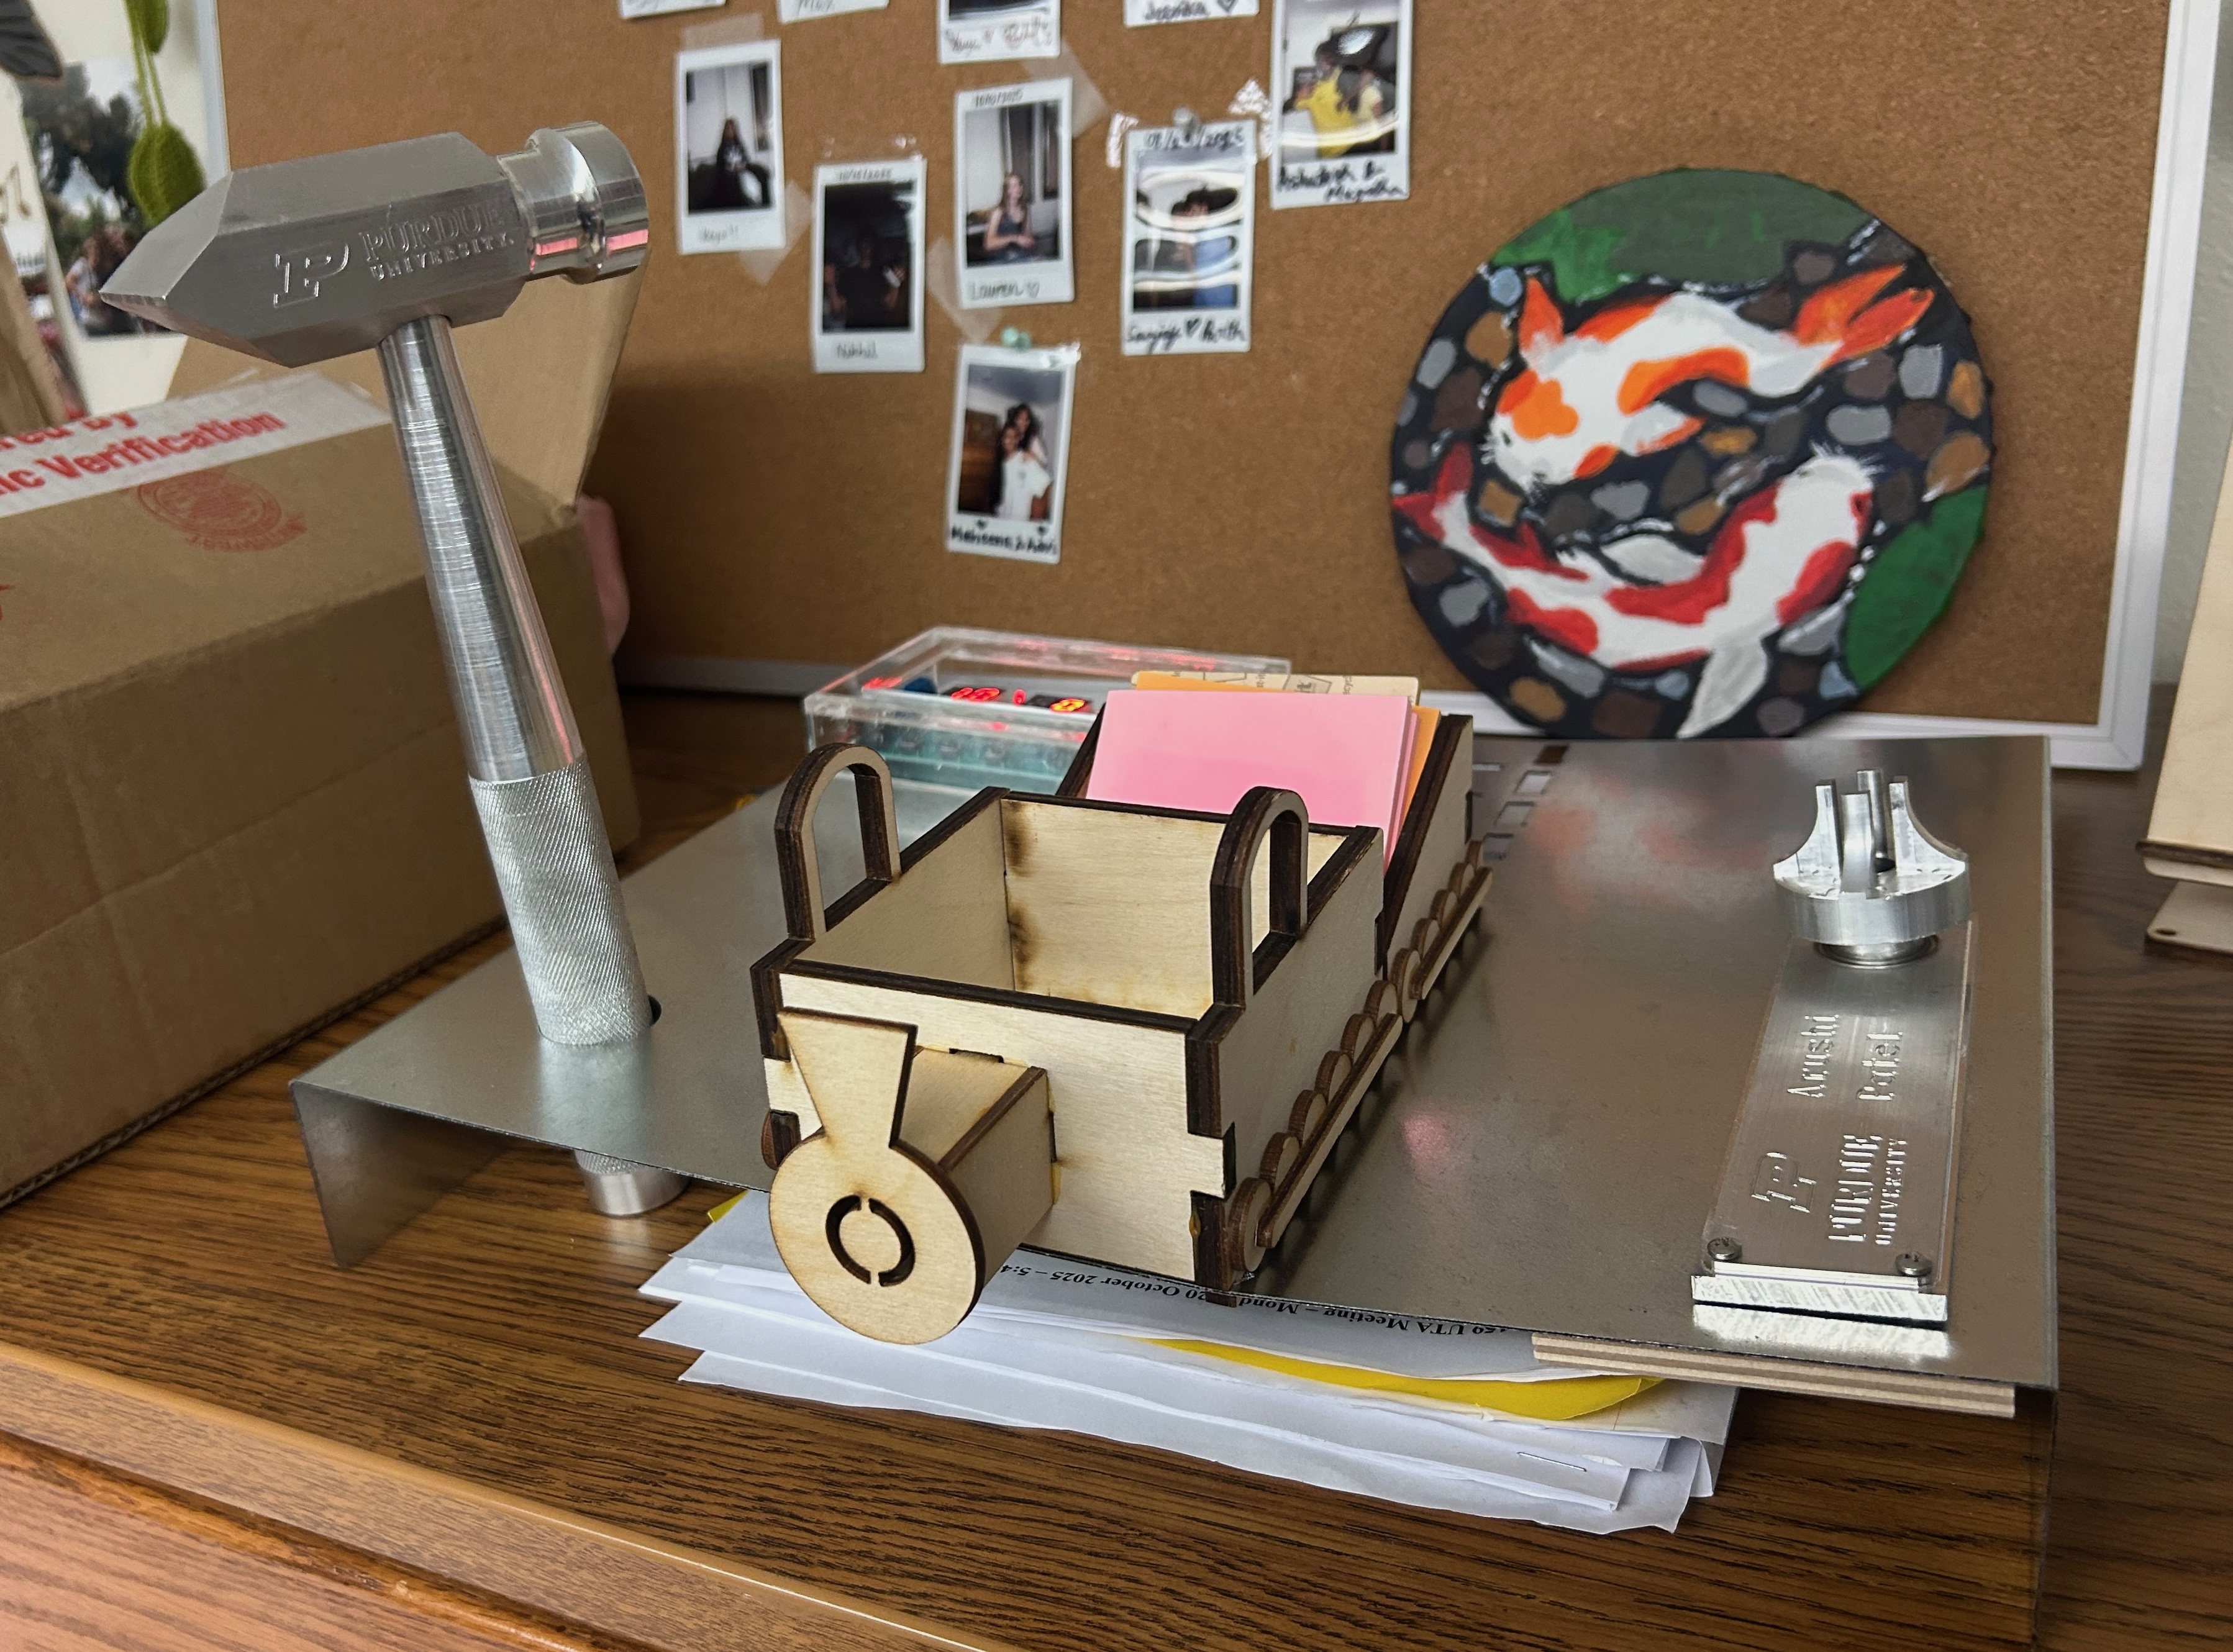
As a part of this class, students are expected to work as pairs to design, manufacture and present a product satisfying the given specifications. These parameters were-
- Allowed materials = sheet metal, plywood (1/4", 1/2"), and acrylic (1/4")
- Must incorporate elements manufactured as a part of ME 264
- These included a Manual Milled Hammer, CNC milled Purdue Engineering Fountain and nameplate, and a Soldered clock
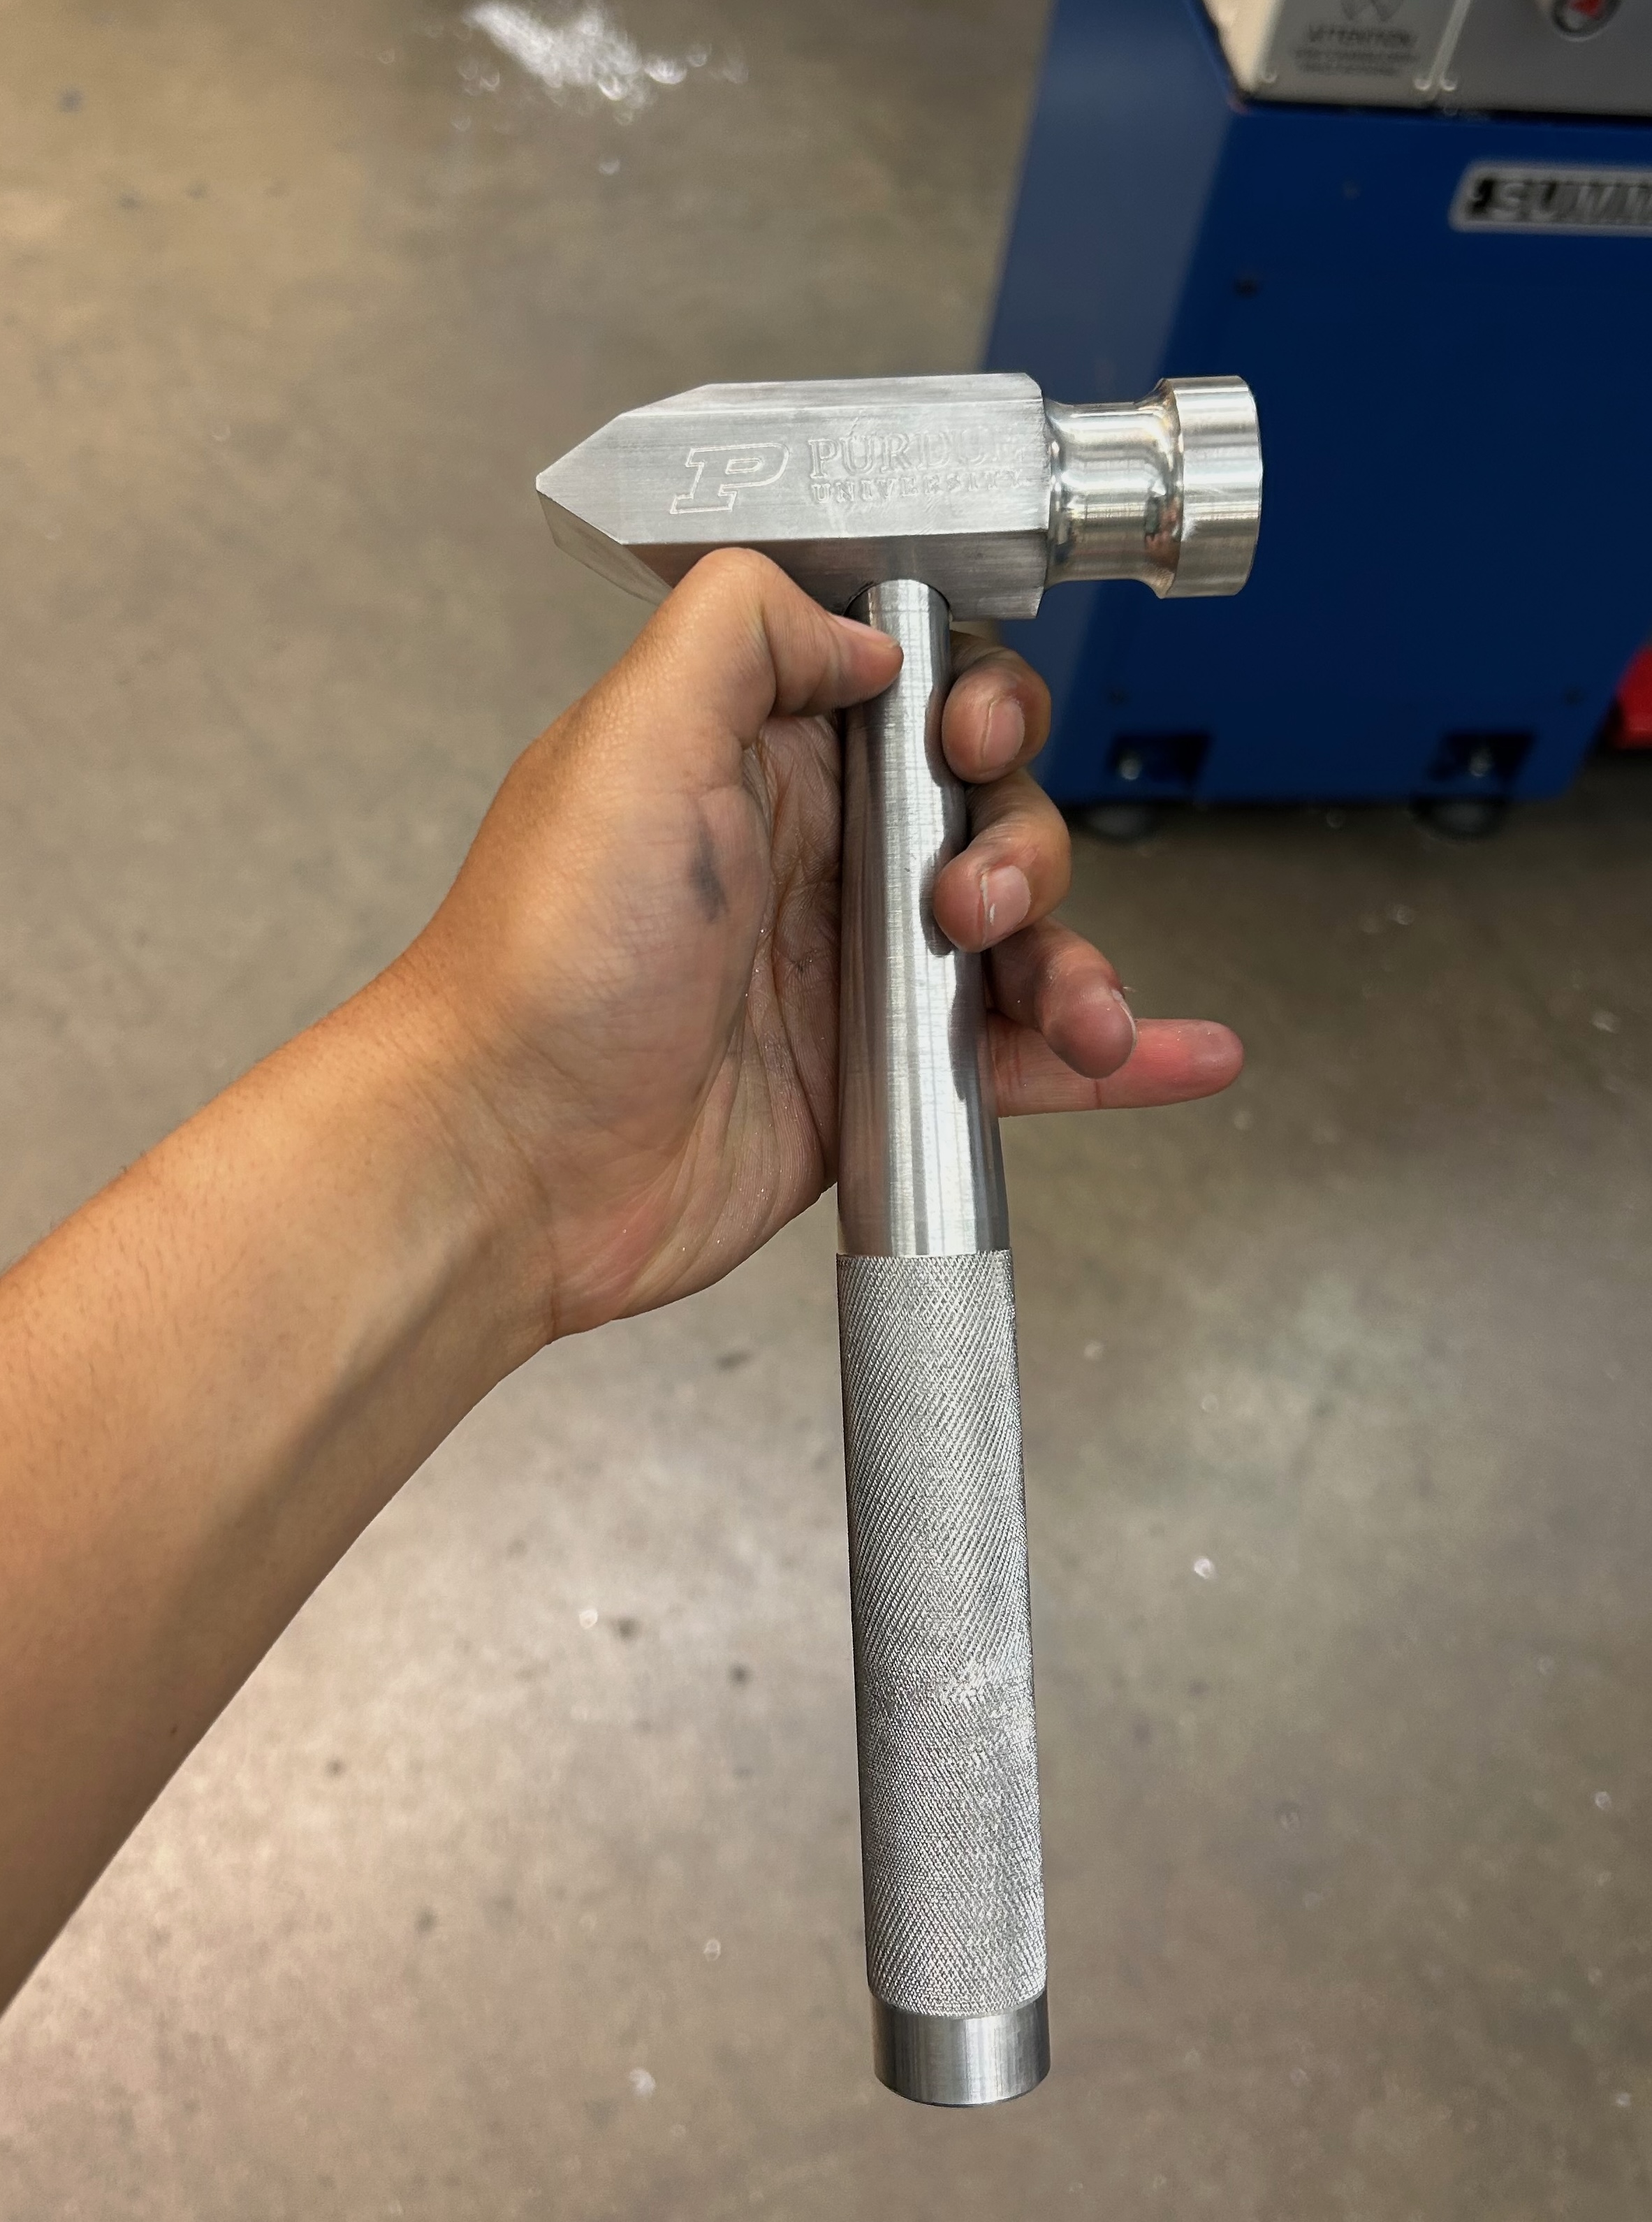
Hammer
First, given an instruction guide, I used a 1.25" aluminum hex stock (cut to 4" length) and a 1" diameter aluminum roud stock for the head and handle respectively. The machines used were: the milling machine, the lathe, the belt sander, the buffing/polishing wheel, and the hydraulic press.
Procedure
- Hammer Head
- Stamp “Purdue Pete” to the aluminum hex block using the hydraulic press
- Drill and tap a 1/2"-13 threaded hole
- Mill the angle block to mill the wedge feature
- Buff and polish the piece
- Handle
- Face both ends of the round stock on the lathe
- On the lathe perform operations for
- Turning
- Threading
- Parting
- Knurling
- Tapering
- Assembly: Once I had both parts, I assembled the hammer to verify the threads
CNC-Milled Nameplate and Fountain
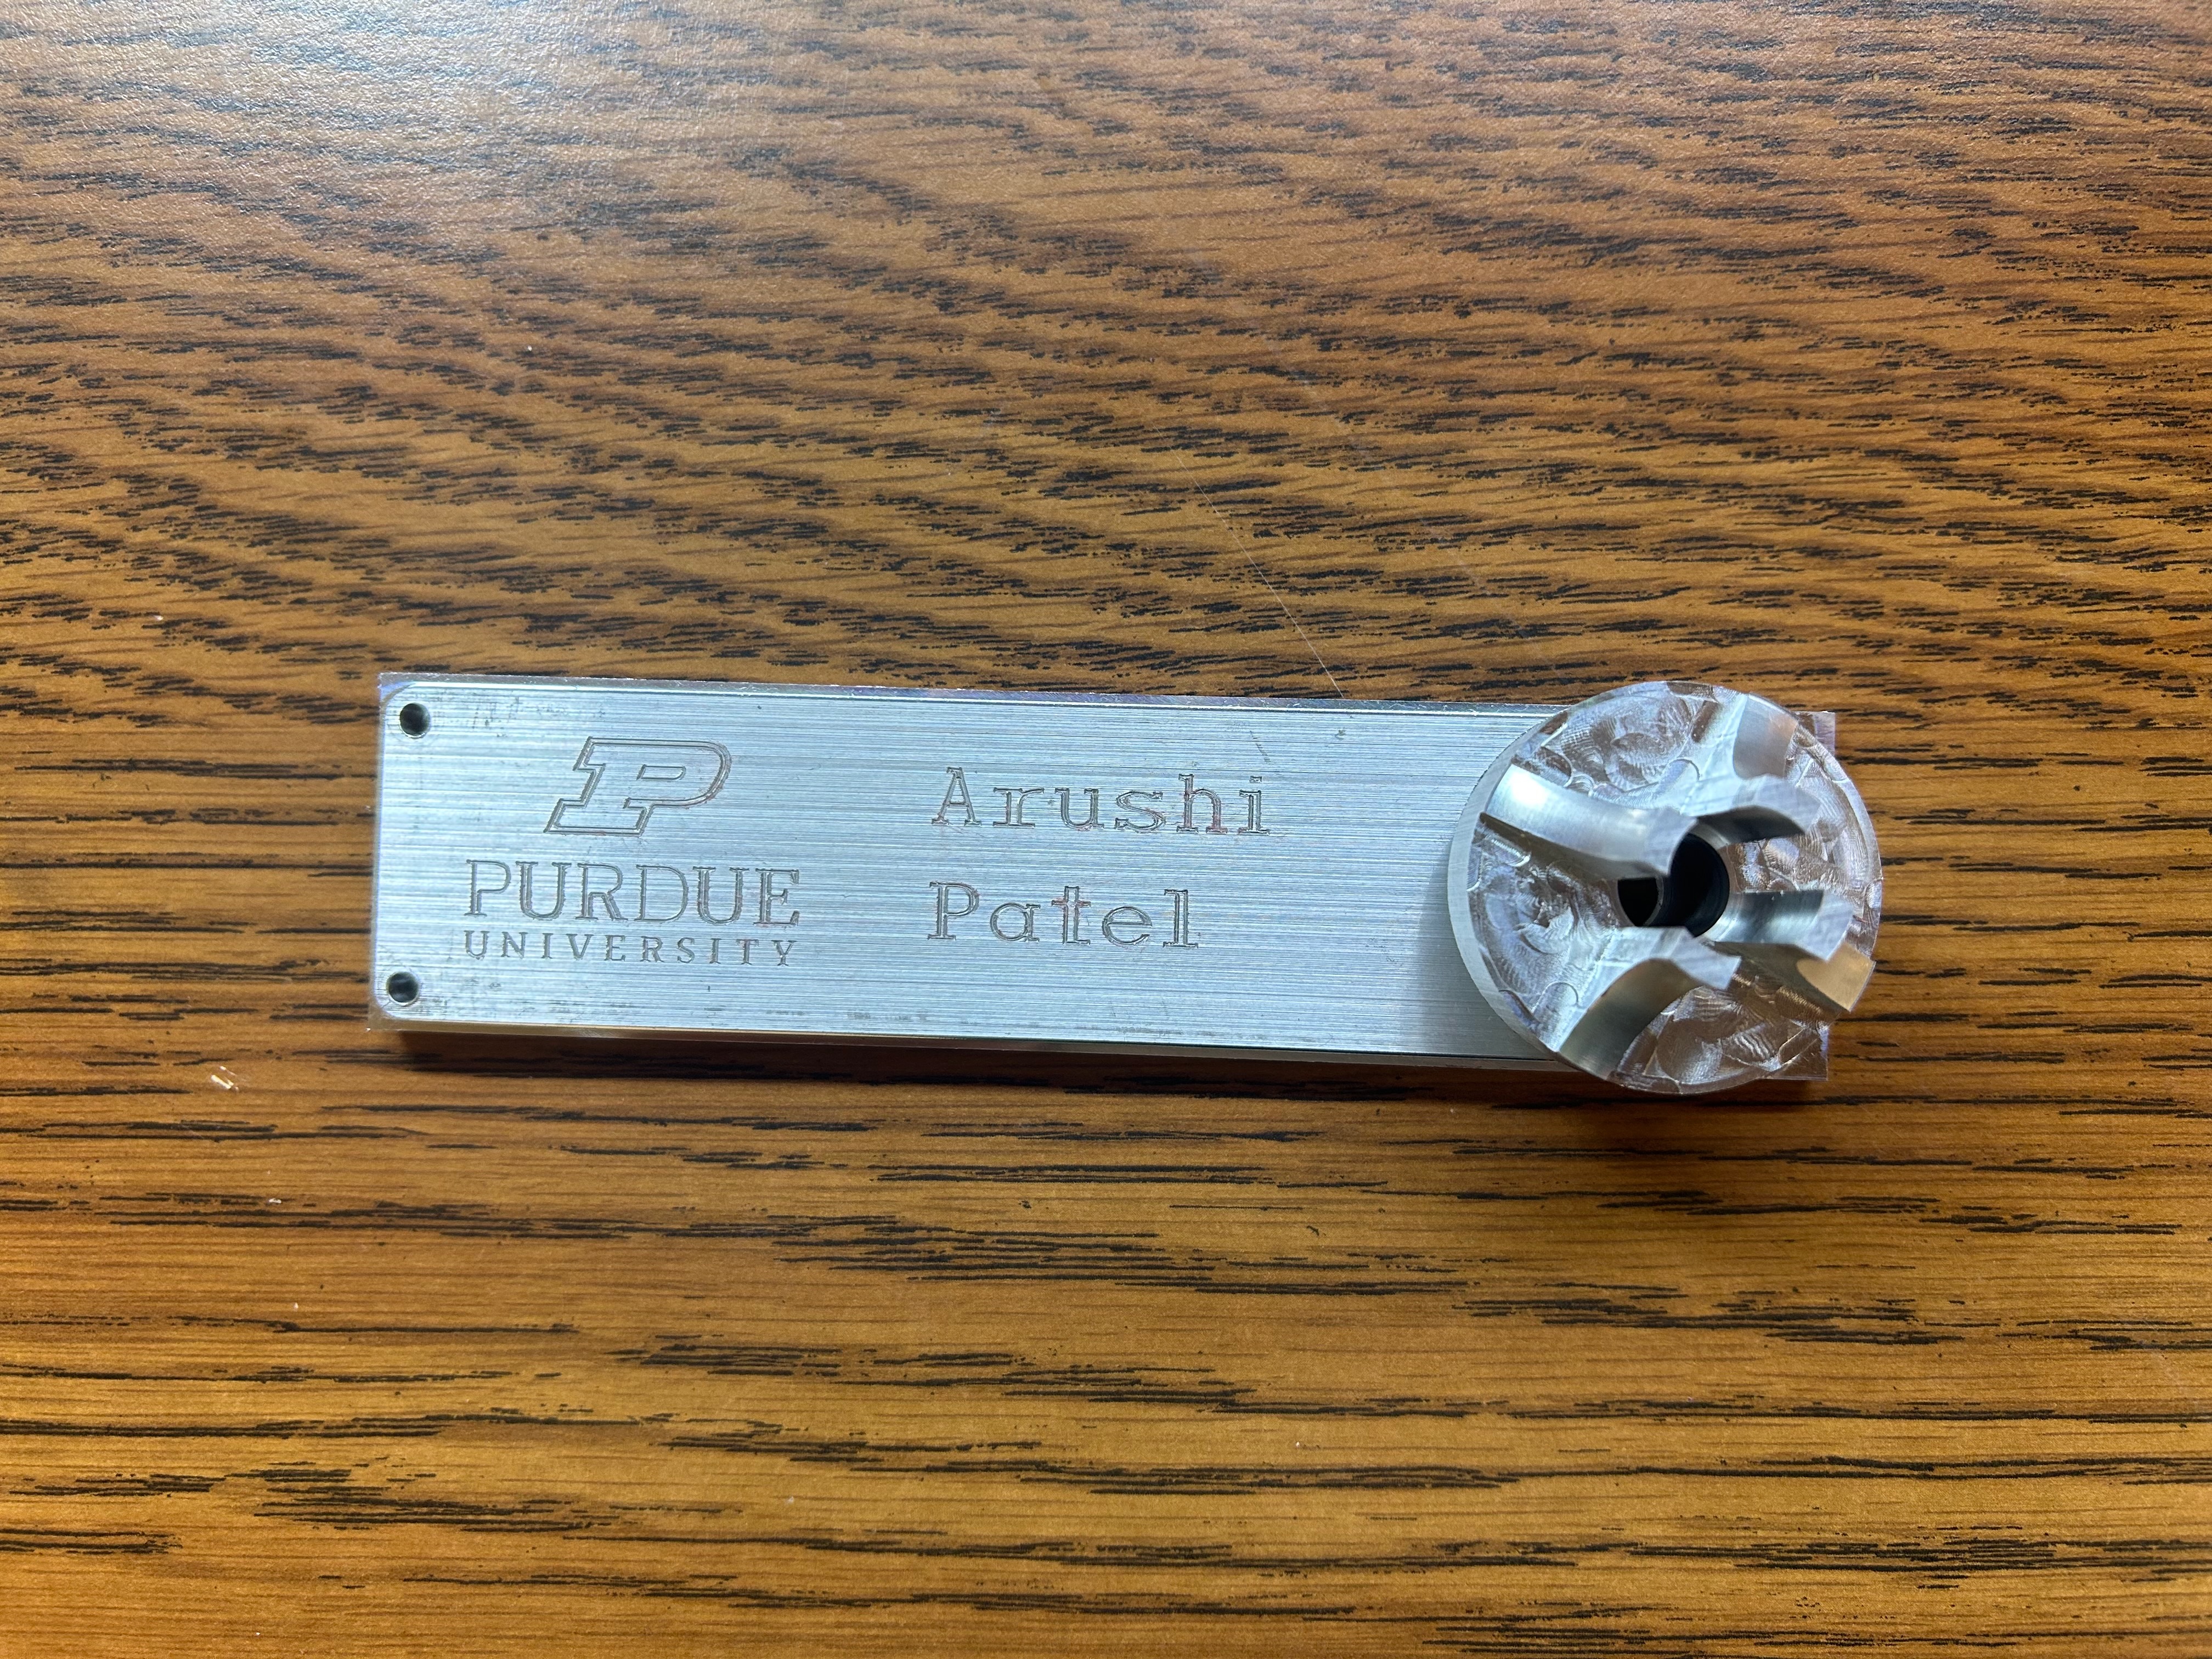
Using pre-made instructions we made the G-code to CNC Mill a Nameplate and Purdue Fountain. I used MasterCAM for the CAM and a Tormach 770M Mill and Lathe for the manufacturing.
Electronic Clock
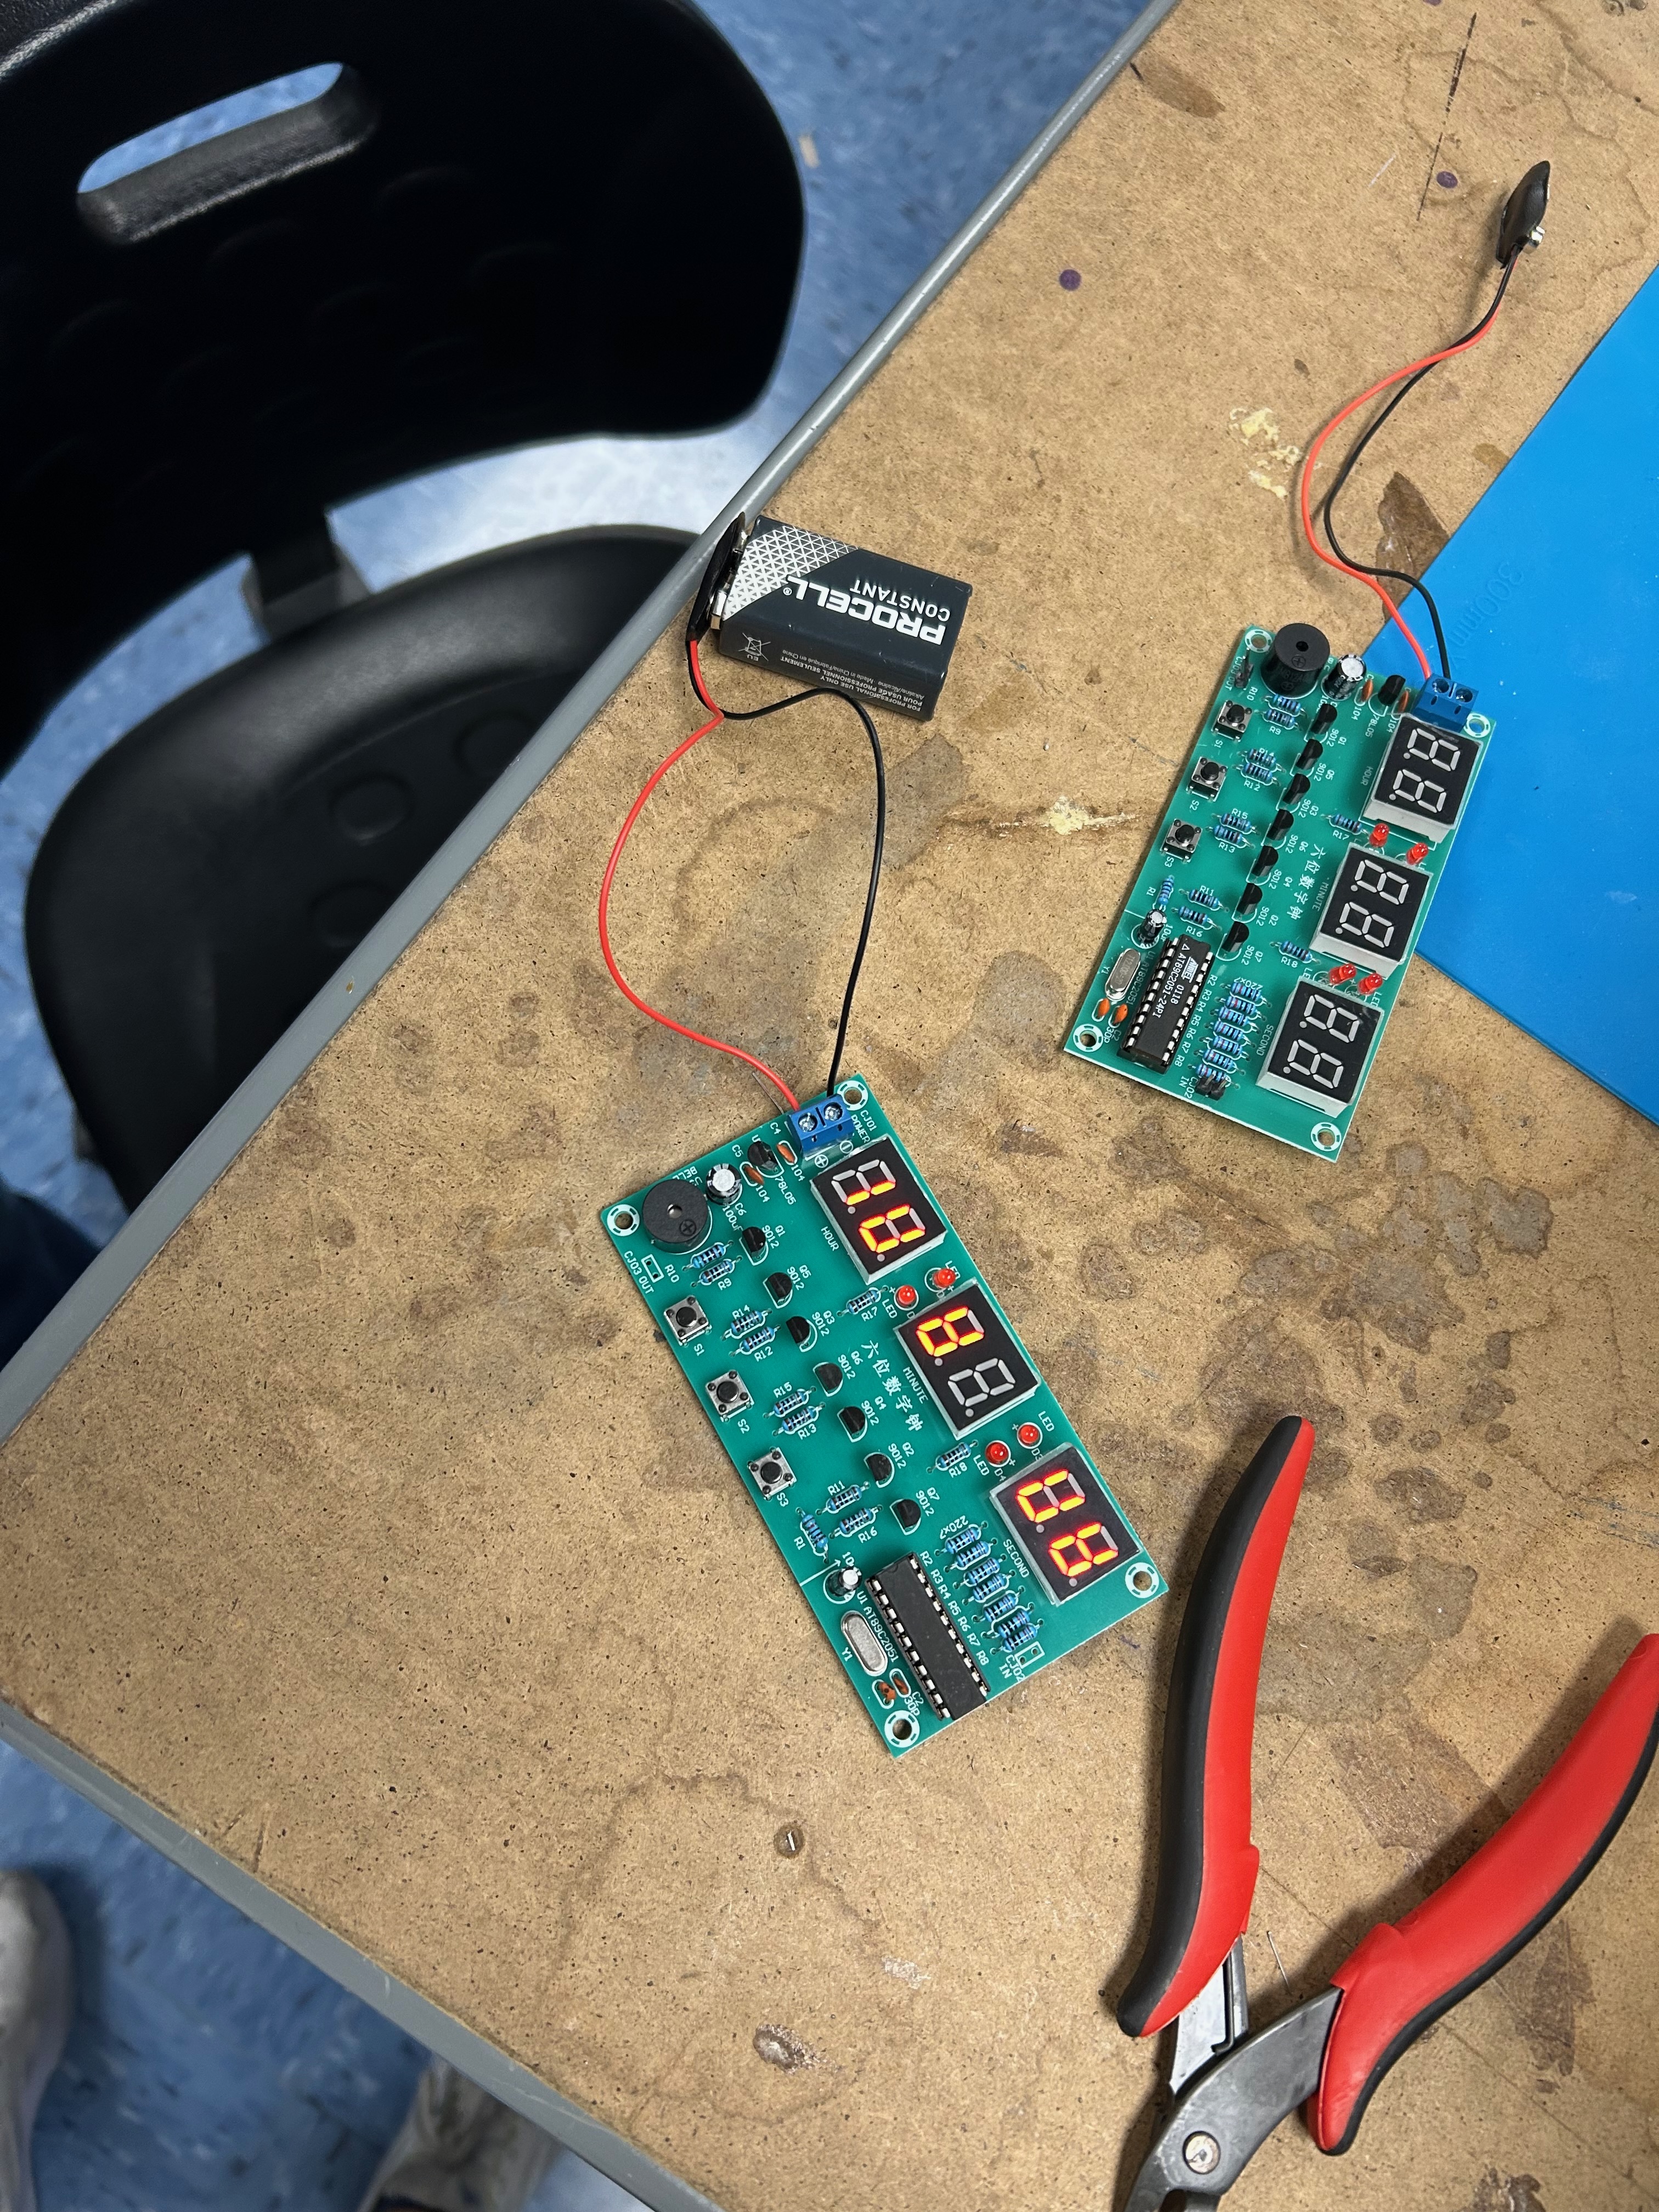
I was introduced to soldering throught the process of making a digital clock. We populated a pre-etched PCB and soldered all the through-hole components. Following this I calibrated my clock and verified that it functioned correctly.
Other Manufacturing skills
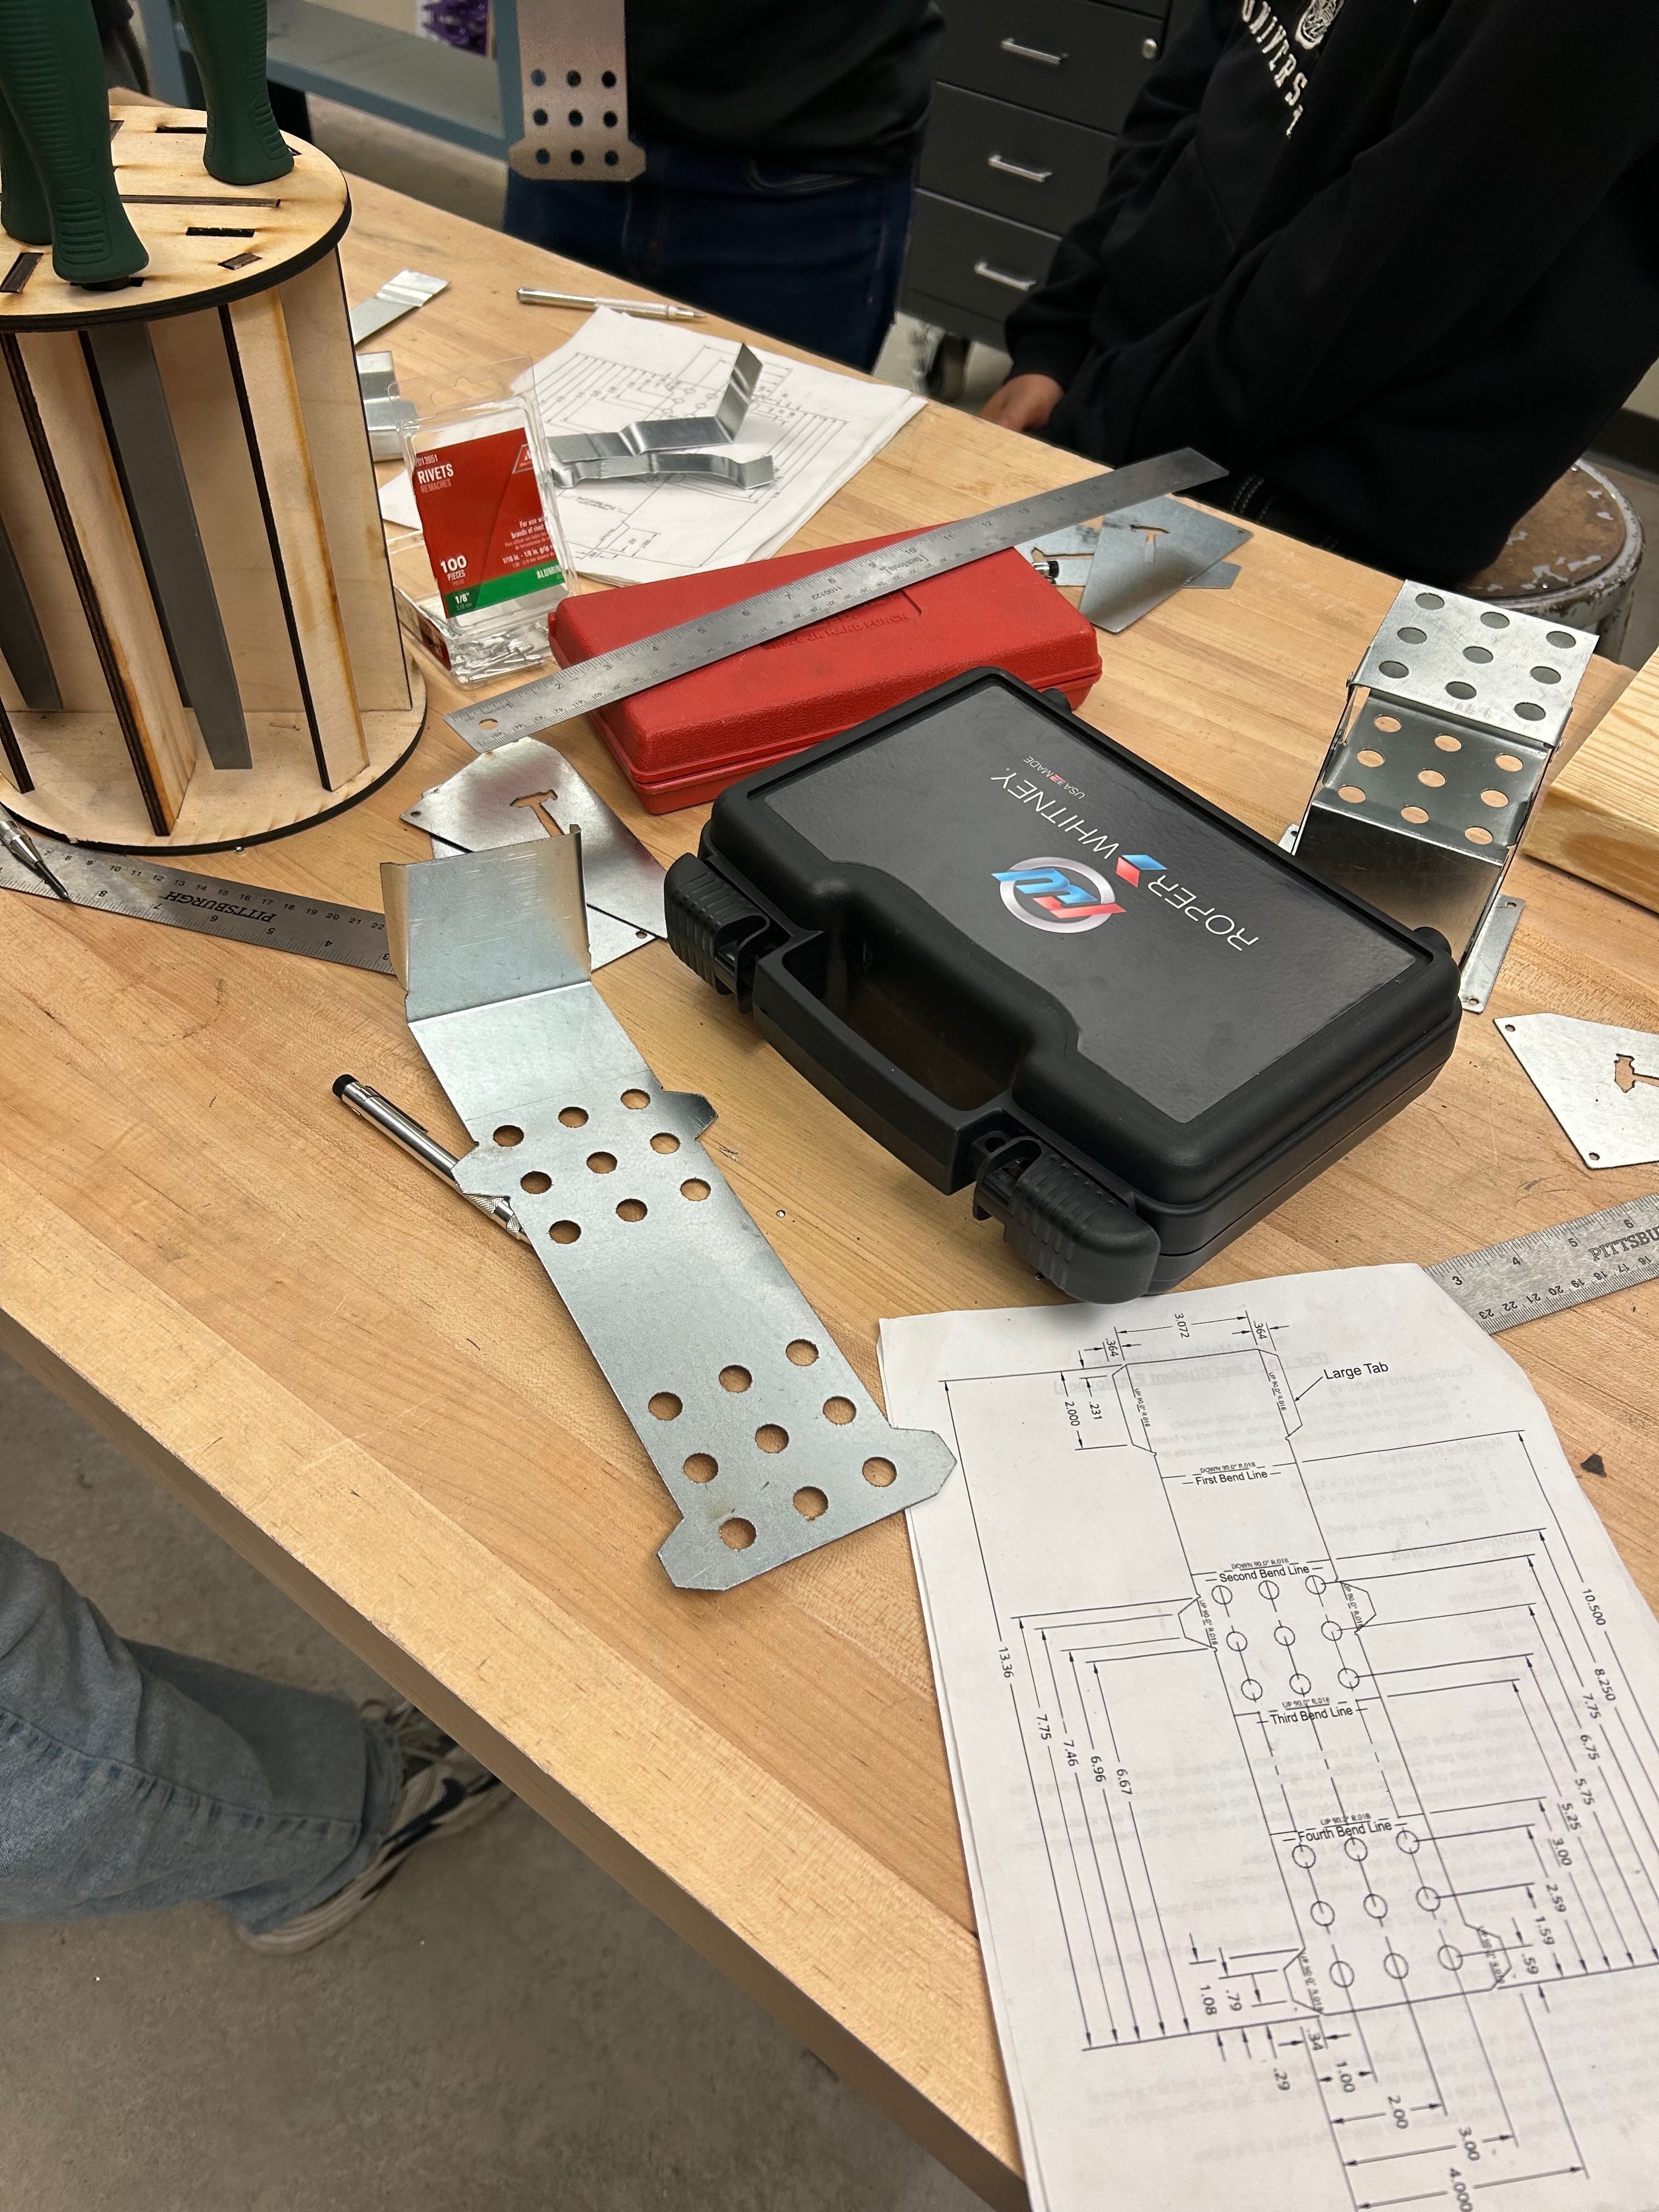
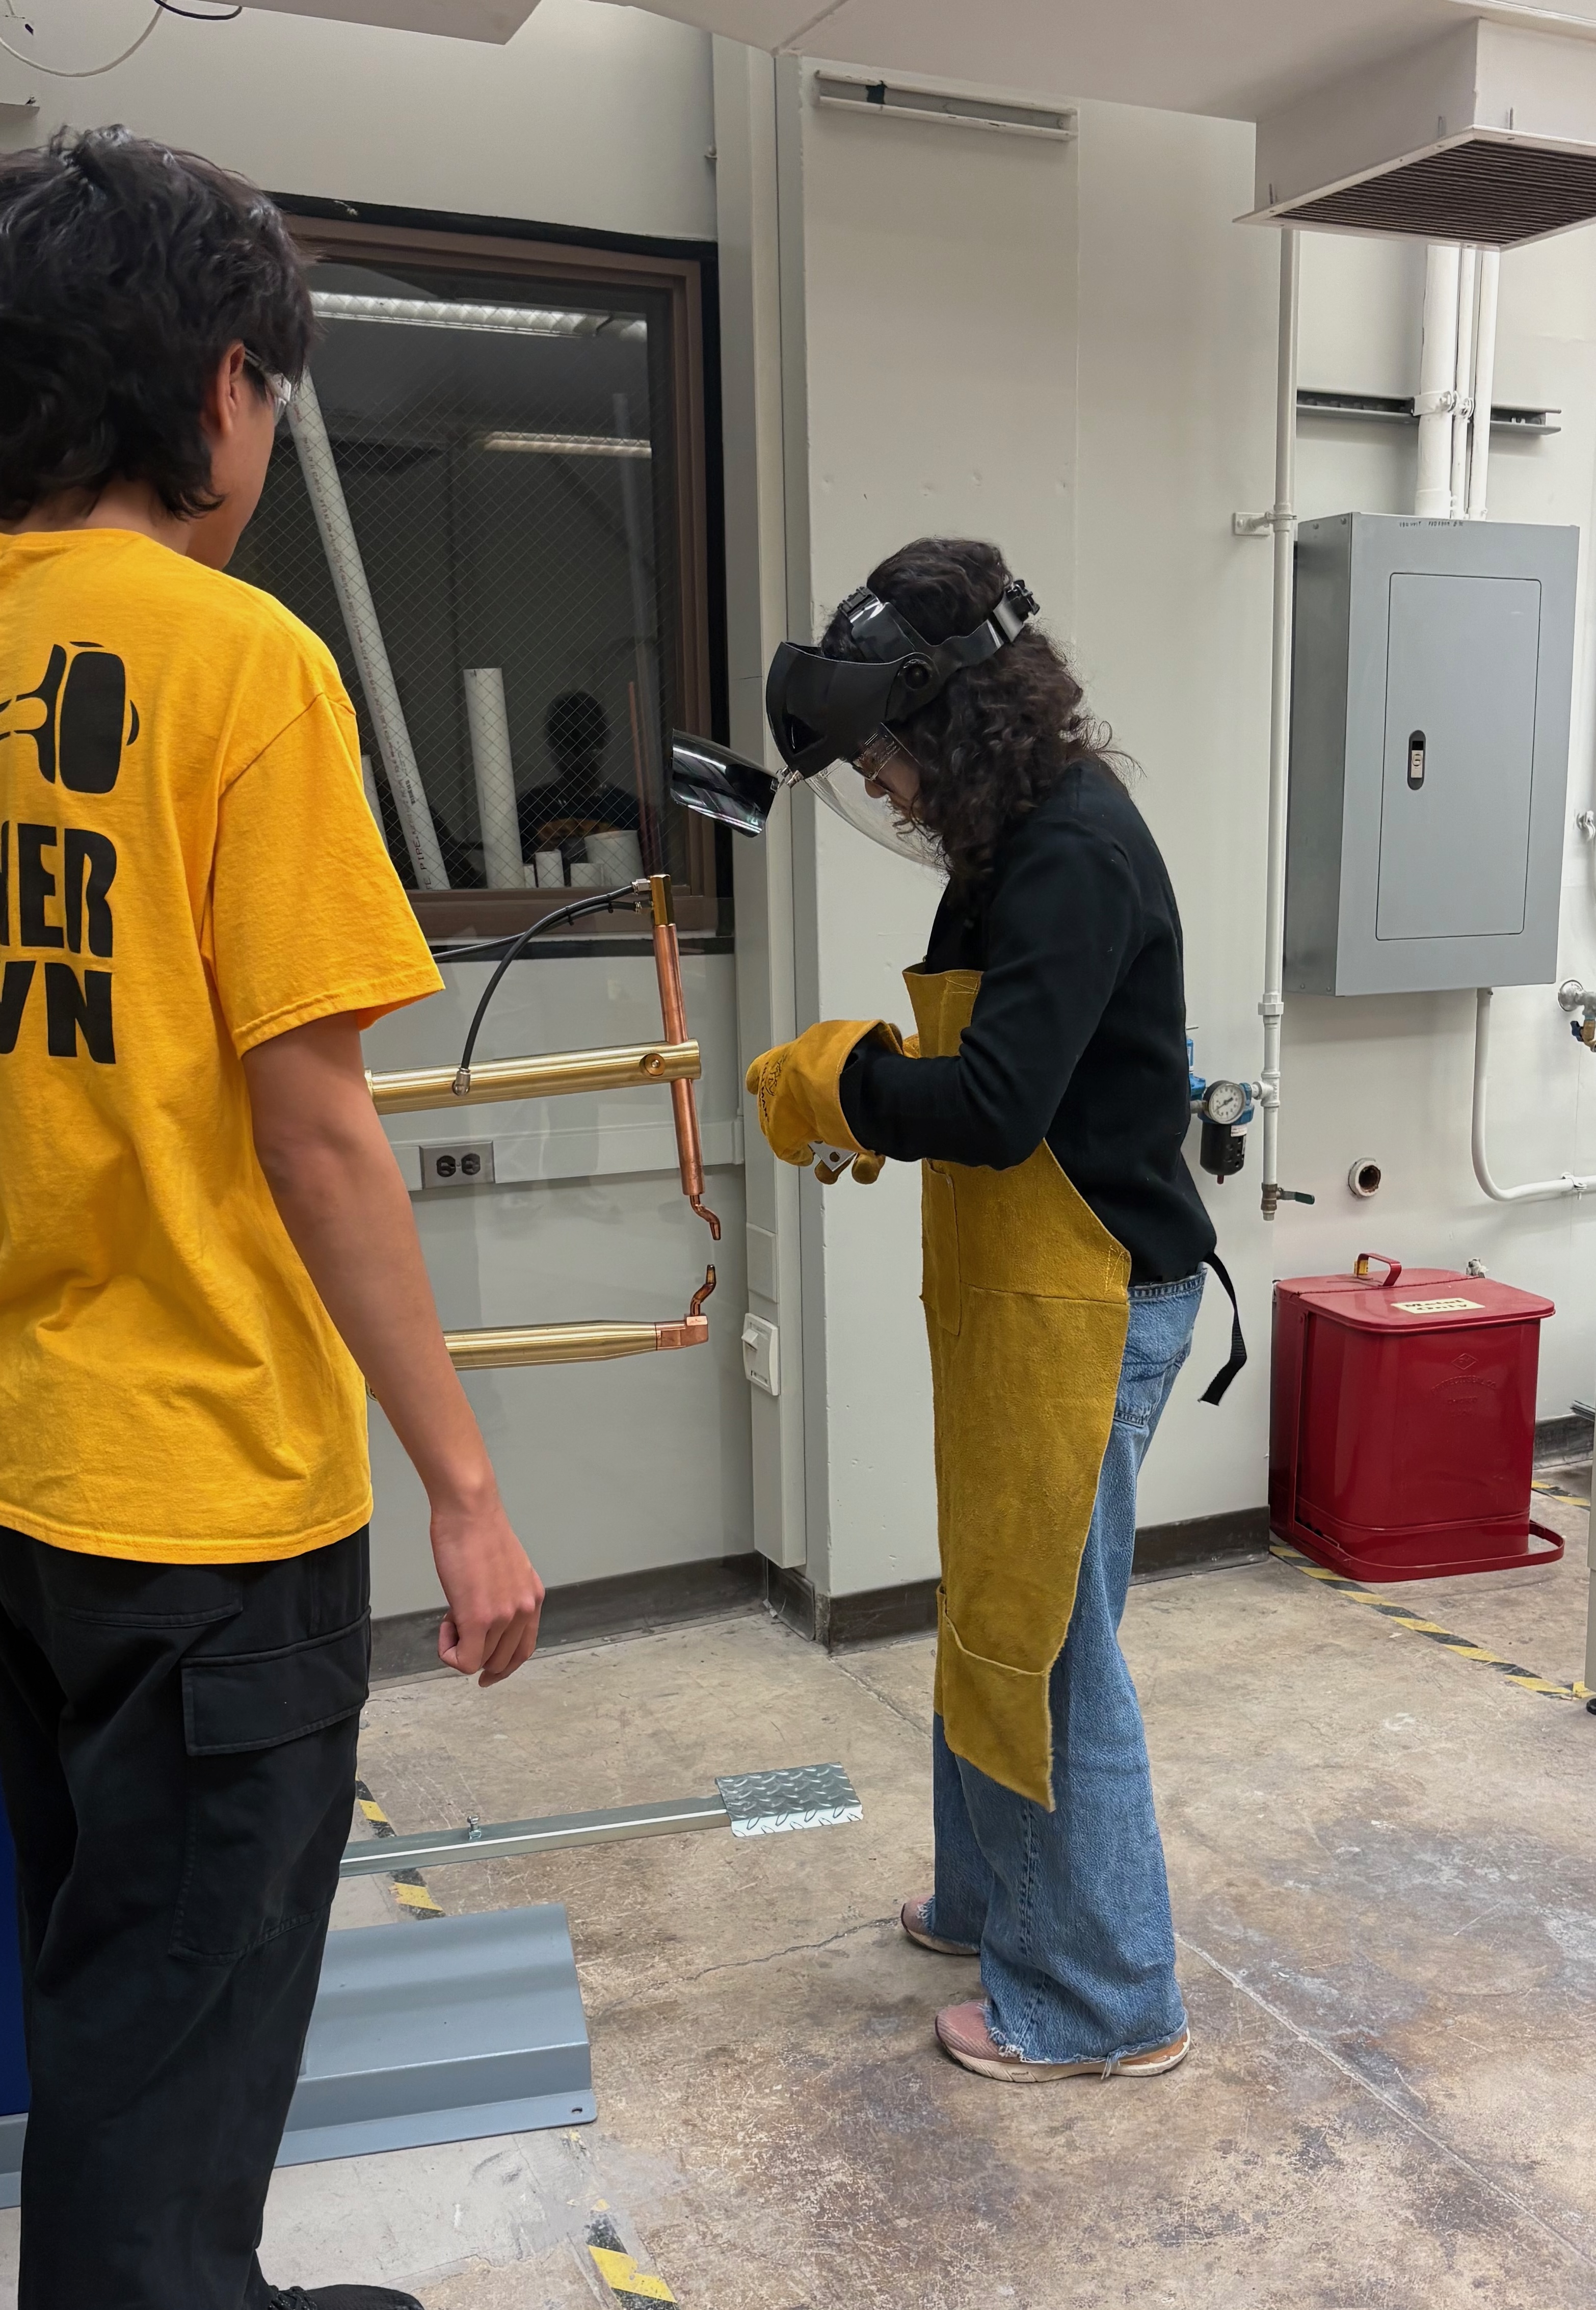
Through the assembly of other products such a pencil holder and a phone holder, I also became proficient in working with sheet metal and woodworking. With sheet metal, I used a hand seamer, metal brake, rivet gun, spot welder, and a hole punch.
Design Process
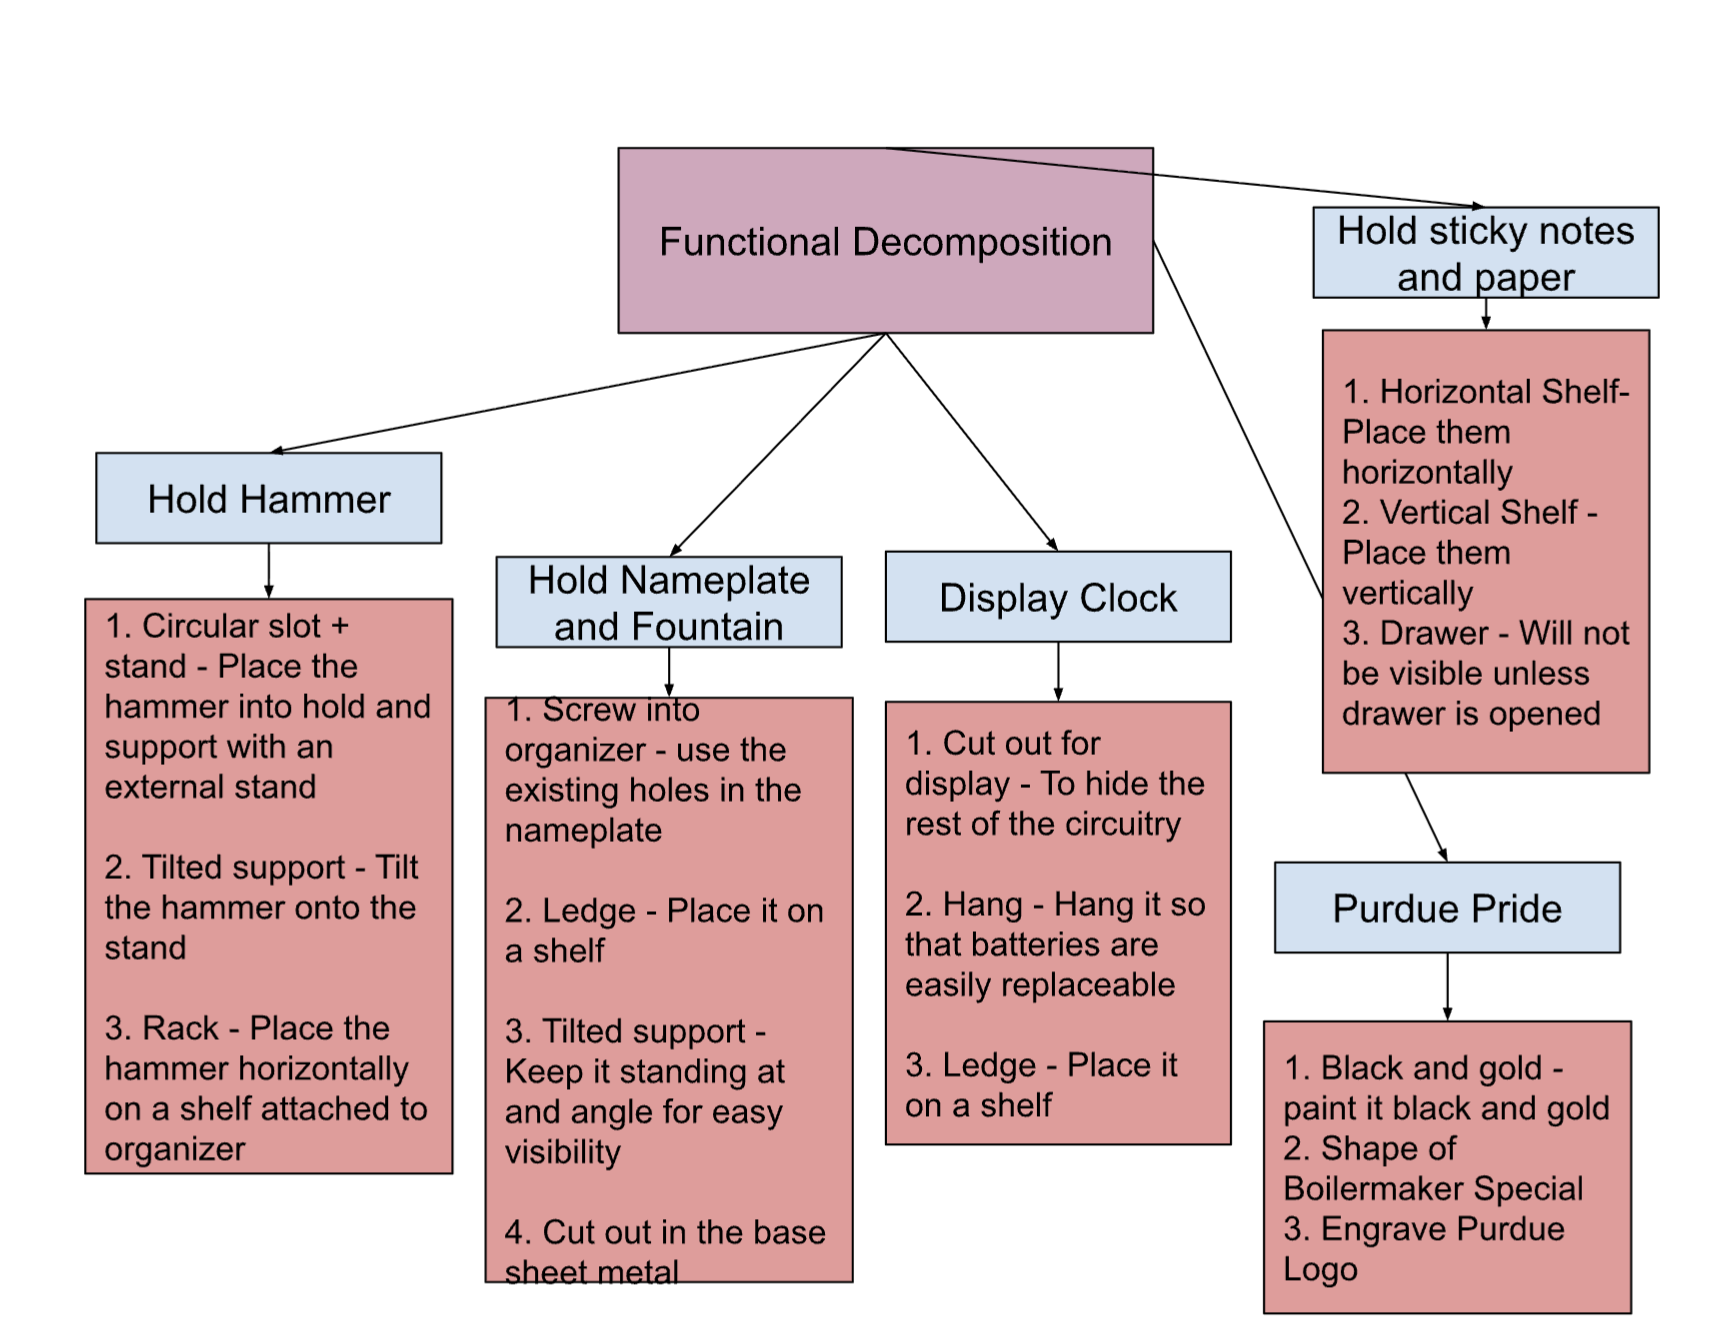
After manufacturing these components, we needed to brainstorm our design for a desk organizer. We did some market resarch, spoke among our peers and found that most struggled with paper organization. I created a Functional Decomposition, and a Morphological chart to dislay our different ideas for each function.
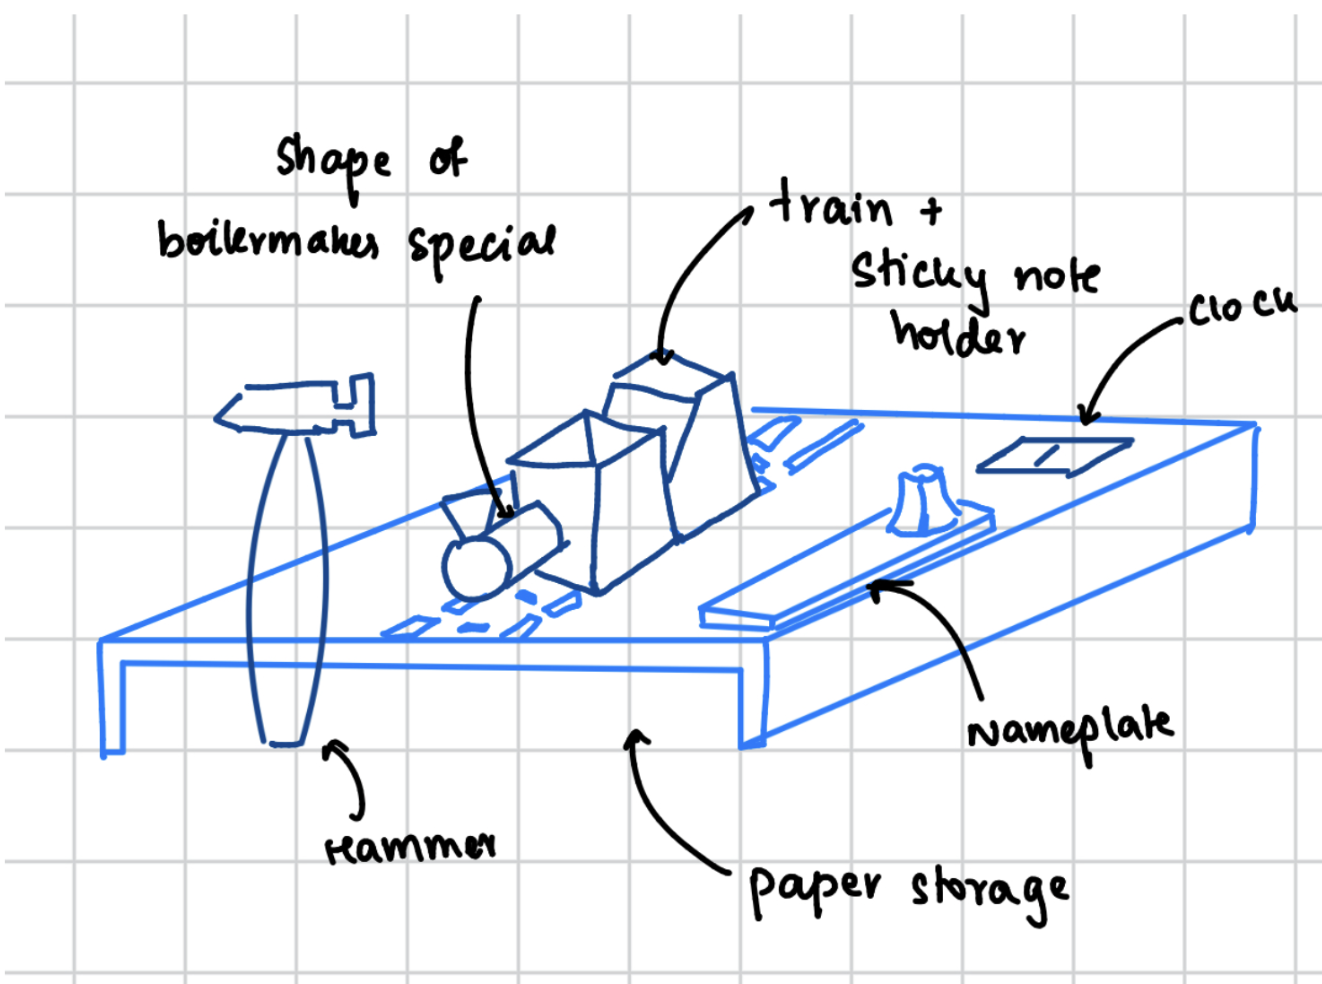
Once, we decided on our concept I created hand sketches of the design. We also conducted DFA to refine the design, including accurate tolerances and simplified mounting methods.
I also created a CAD, Bill of Materials (BOM), and Engineering drawings for all parts as per ASME Y14.5.
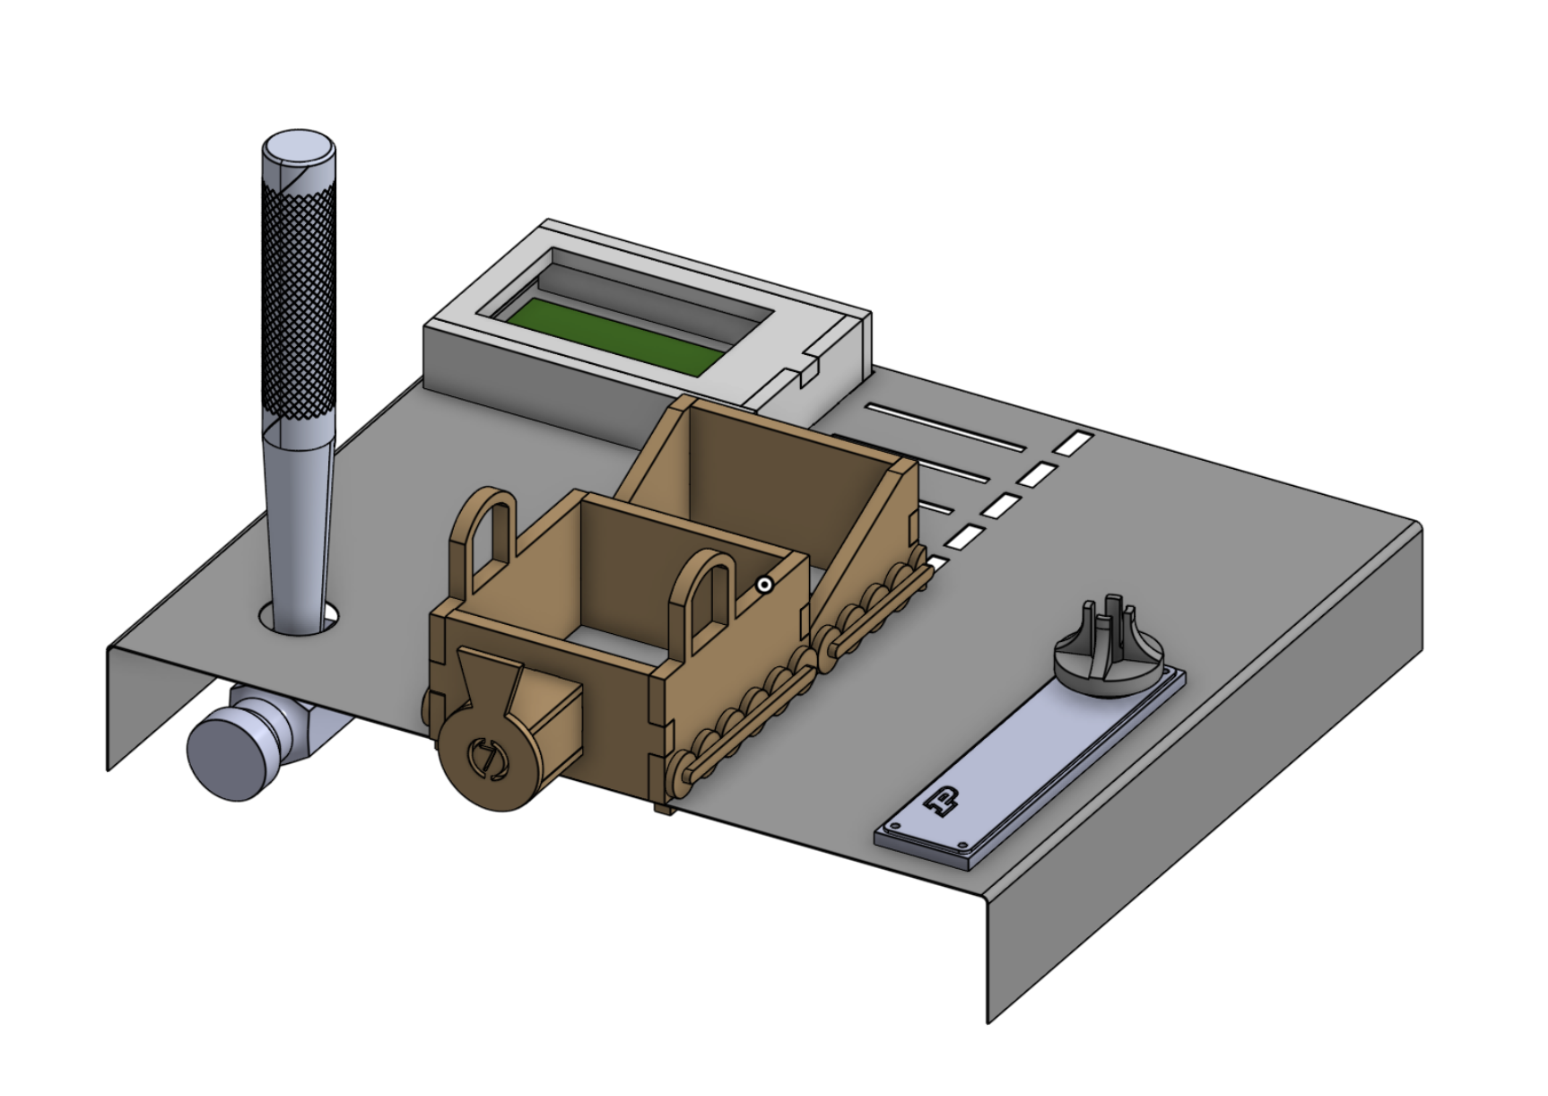
Features
- A sticky note holder that resembles the Boilermaker Special (our campus train)
- Train tracks on the base that allow for modular mounting of the train and its carts
- A clear clock enclosure that allows the user to still access the front face of the clock and any buttons
- Space underneath the base to store papers
- Holes in the base to mount the hammer and the nameplate
BOM
Plywood (sticky-note holders, decorative features, and as a mounting layer):
- One 12” × 12” × ¼” plywood sheet
- One 12” × 12” × ⅛” plywood sheet
Acrylic Sheets (clock casing):
- One 8” × 16” × ¼” acrylic sheet
Sheet Metal (main base):
- One 12” × 18” sheet, 0.01875” thick
Fasteners & Additional Components:
- 8 wood screws total for attaching the nameplate, fountain, and clock.
Manufacturing
The base plate, train, and clock enclosure were manufactured by laser cutting sheet metal, plywood, and acrylic respectively. Along with this, we cut 1/8" Plywood using the Miter Saw to be used to mount the nameplate.
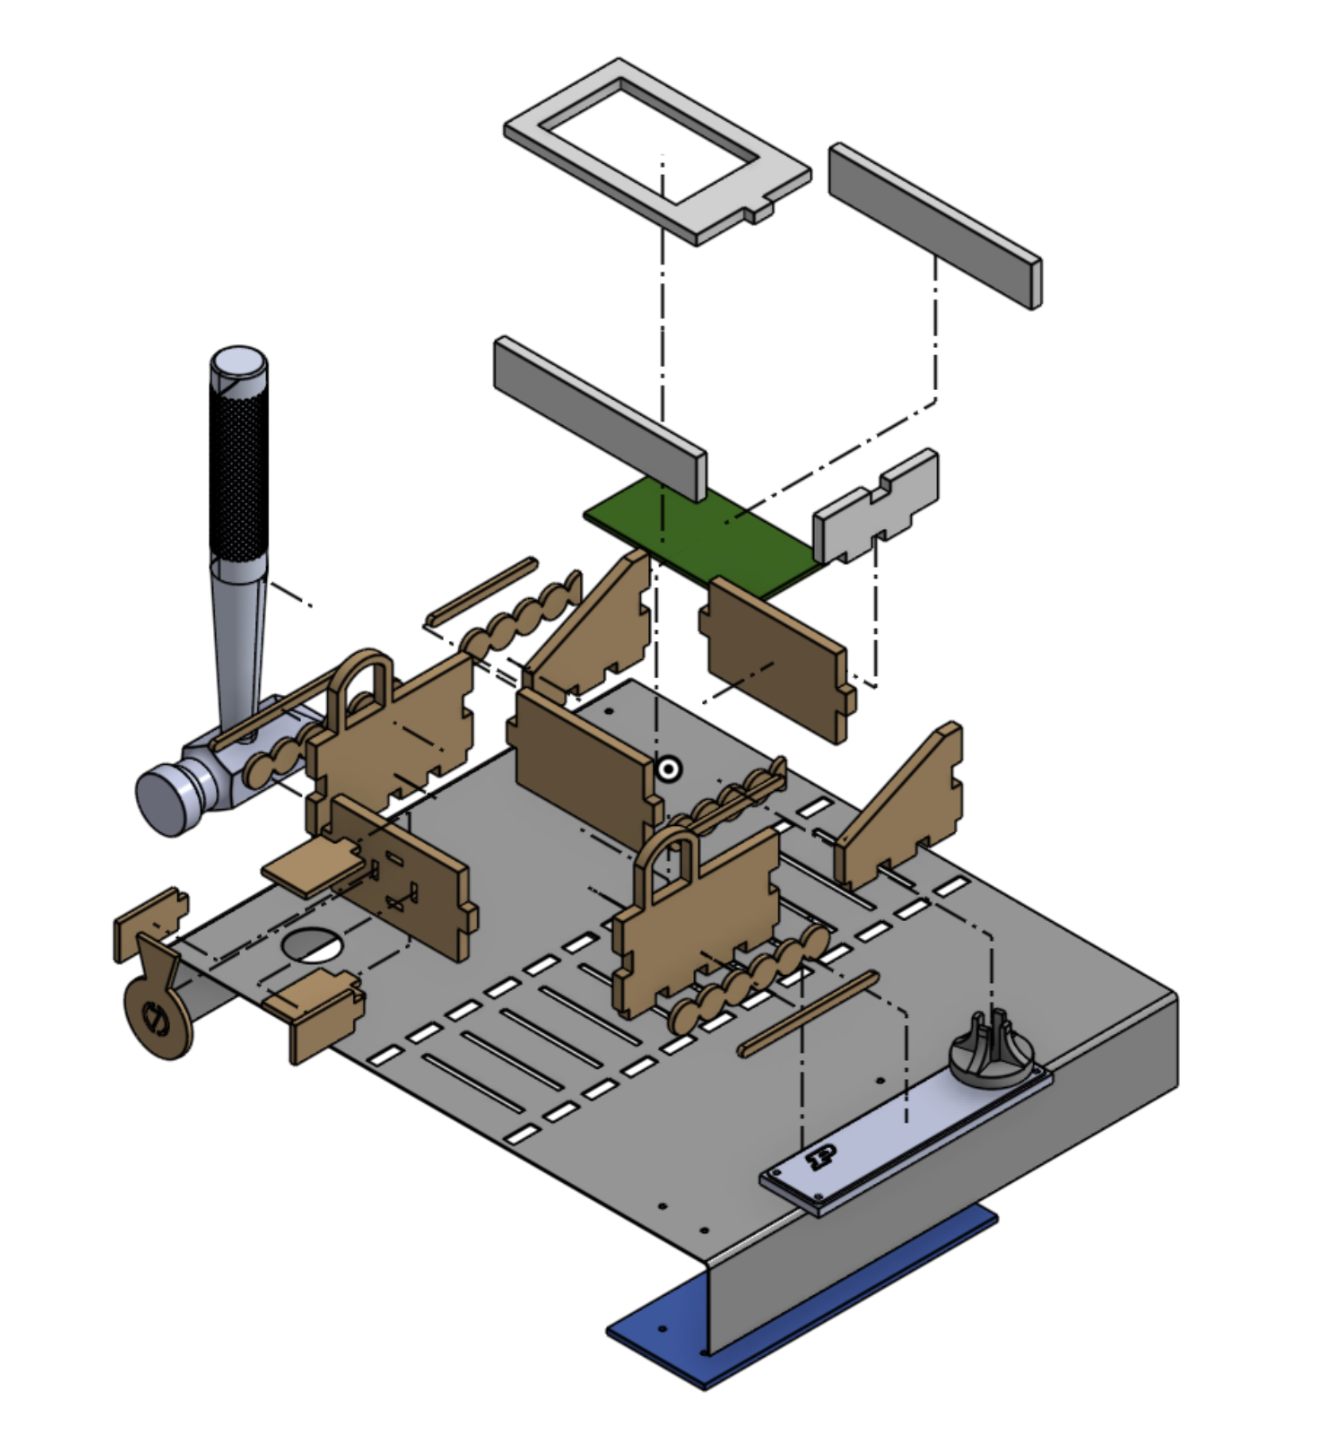
Overall, the desk organizer was assembled using super glue and wood screws.
Design Improvements
Looking back at my design, after using and testing it on my desk, I would make a few changes -
- Vertically store papers - The current design hrizontally stored papers which meant that it took a lot more desk space.
- Change base material - Sheet metal is sharp, and after getting a few cuts during transport, I realized that I should not have made the base sheet metal.
- Vertically mount clock - To make it easier for user to see